
CUDA 설치 문제 해결 완전 가이드
, 12분 소요, By Jaber Jaber
ResearchCUDA 개발을 시작하며 짜증 나는 설치 문제를 만났을 것입니다. 나는 수백 건의 개발자 경험을 분석하여 가장 흔한 CUDA 설치 문제를 극복하도록 돕는 이 포괄적인 가이드를 엮었습니다.
모든 CUDA 개발자가 겪은 일입니다. 툴킷을 설치하고, 모든 것이 멀쩡해 보이고, 그다음 nvcc --version이 "command not found"를 반환합니다. 더 나쁜 경우, 내 기계에서는 모든 것이 되는데 다른 사람의 GPU에서는 깨집니다. 수십 팀이 이 문제들을 디버깅하도록 돕고 나서, 나는 같은 문제들이 반복해서 나오는 것을 보았습니다.
이 가이드는 모든 주요 CUDA 설치 문제와 그것을 고치는 정확한 방법을 다룹니다. 이제 시행착오는 없습니다.
목차
흔한 문제들:
PATH와 환경 변수 문제
드라이버와 툴킷 버전 불일치
WSL2 고유의 문제
Secure Boot와 UEFI 문제
깨진 패키지 의존성
cuDNN 설치와 호환성
PyTorch CUDA를 쓸 수 없음
Windows 고유의 문제
불완전한 설치
예방을 위한 모범 사례
1. PATH와 환경 변수 문제
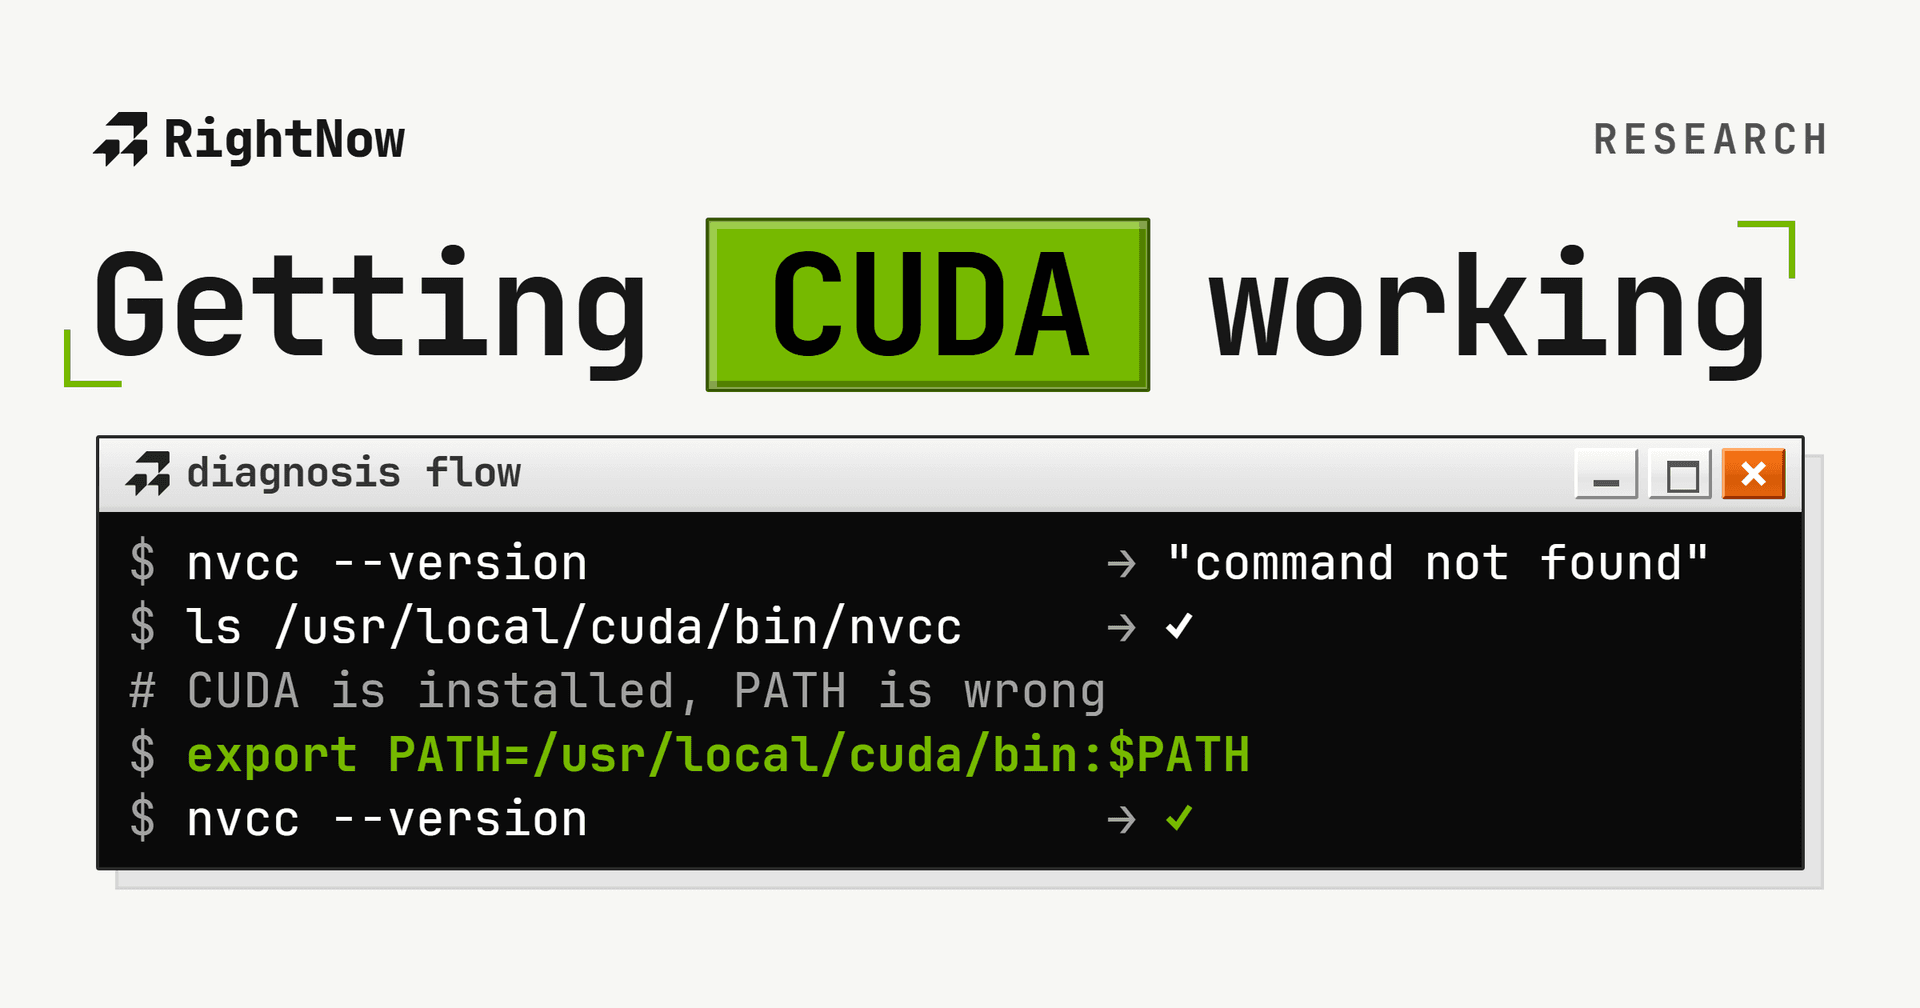
문제: nvcc --version이 "command not found"를 반환
설치 뒤 개발자가 마주하는 가장 흔한 문제입니다. 툴킷은 설치되었는데 시스템이 CUDA 컴파일러를 찾지 못합니다.
근본 원인: CUDA 바이너리가 시스템의 PATH 환경 변수에 없습니다.
┌──────────────────────────────────────────────────────────────┐
│  Diagnosis Flow                                              │
├──────────────────────────────────────────────────────────────┤
│                                                              │
│  $ nvcc --version                                            │
│  → "command not found"                                       │
│                                                              │
│  $ which nvcc                                                │
│  → (empty)                                                   │
│                                                              │
│  $ ls /usr/local/cuda/bin/nvcc                               │
│  → File exists! ✓                                            │
│                                                              │
│  Conclusion: CUDA is installed, PATH is wrong                │
│                                                              │
└──────────────────────────────────────────────────────────────┘
Linux/Ubuntu용 해결:
Windows용 해결:
시스템 속성 열기 → 고급 → 환경 변수
PATH에 추가:
C:\Program Files\NVIDIA GPU Computing Toolkit\CUDA\v11.8\bin새 변수
CUDA_PATH만들기:C:\Program Files\NVIDIA GPU Computing Toolkit\CUDA\v11.8터미널이나 IDE 재시작
확인:
2. 드라이버와 툴킷 버전 불일치
문제: "CUDA driver version is insufficient" 또는 버전 불일치 오류
근본 원인: NVIDIA 드라이버가 설치한 CUDA 툴킷 버전을 지원하지 않거나, 서로 다른 CUDA 구성 요소 사이에 불일치가 있습니다.
CUDA 버전 이해하기:
nvidia-smi는 드라이버가 지원하는 최대 CUDA 버전을 보여줍니다nvcc --version은 설치된 툴킷 버전을 보여줍니다둘은 다를 수 있고, 그것은 보통 괜찮습니다. 드라이버는 더 오래된 툴킷을 지원합니다
┌──────────────────────────────────────────────────────────────┐
│  CUDA Compatibility Matrix                                   │
├──────────────────────────────────────────────────────────────┤
│                                                              │
│  CUDA Toolkit    →    Minimum Driver Version                 │
│  ────────────────────────────────────────────────            │
│  CUDA 12.x              ≥ 525.60.13 (Linux)                  │
│                         ≥ 527.41 (Windows)                   │
│                                                              │
│  CUDA 11.x              ≥ 450.80.02 (Linux)                  │
│                         ≥ 452.39 (Windows)                   │
│                                                              │
│  CUDA 10.x              ≥ 410.48 (Linux)                     │
│                         ≥ 411.31 (Windows)                   │
│                                                              │
│  Rule: Driver version ≥ Toolkit requirement                  │
│                                                              │
└──────────────────────────────────────────────────────────────┘
해결 1: 드라이버 업그레이드
해결 2: 호환되는 CUDA 버전 설치
드라이버를 업그레이드할 수 없다면, 드라이버 버전에 맞는 더 오래된 CUDA 툴킷을 설치하세요. CUDA 호환 매트릭스를 확인하세요.
해결 3: NVML 드라이버/라이브러리 불일치 고치기
이 오류는 드라이버 업데이트 뒤에 자주 나타납니다:
3. WSL2 고유의 문제
문제: Windows의 WSL2에서 CUDA가 작동하지 않음
WSL2는 네이티브 Linux 설치와 다른, CUDA 지원만의 요구 사항을 갖습니다.
┌──────────────────────────────────────────────────────────────┐
│  WSL2 CUDA Architecture (Critical Rules)                     │
├──────────────────────────────────────────────────────────────┤
│                                                              │
│  Windows Host                                                │
│  ┌────────────────────────────────────────────────────────┐  │
│  │  NVIDIA Driver (WSL-enabled)  ← Install HERE           │  │
│  │  ├─ Manages GPU hardware                               │  │
│  │  └─ Exposes /dev/dxg to WSL2                           │  │
│  └────────────────────────────────────────────────────────┘  │
│         │                                                    │
│         ↓ (passthrough)                                      │
│  ┌────────────────────────────────────────────────────────┐  │
│  │  WSL2 Ubuntu                                           │  │
│  │  ├─ CUDA Toolkit ONLY  ← Install HERE                  │  │
│  │  ├─ NO driver installation!                            │  │
│  │  └─ Uses Windows driver via /dev/dxg                   │  │
│  └────────────────────────────────────────────────────────┘  │
│                                                              │
│  Common mistake: Installing NVIDIA driver in WSL2            │
│  Result: Conflicts and failures                              │
│                                                              │
└──────────────────────────────────────────────────────────────┘
WSL2의 결정적 규칙:
WSL2 안에 NVIDIA 드라이버를 설치하지 마세요: Windows에서 옵니다
WSL2에는 드라이버가 아니라 CUDA 툴킷만 설치하세요
Windows에는 WSL2 호환 NVIDIA 드라이버가 있어야 합니다
해결:
1단계: 올바른 Windows 드라이버 설치 NVIDIA의 WSL 페이지에서 WSL용 CUDA 지원 드라이버를 내려받으세요.
2단계: WSL2가 GPU를 보는지 확인
이것이 되면 Windows 드라이버가 올바르게 설정된 것입니다.
3단계: WSL2에 CUDA 툴킷 설치
4단계: 환경 변수 설정
흔한 WSL2 문제들:
문제: "GPU not detected in WSL2"
Windows에 WSL2 지원 드라이버가 있는지 확인하세요
WSL 커널 버전 확인:
wsl cat /proc/version(5.10.43.3 이상 필요)WSL 업데이트: PowerShell에서
wsl --update
문제: 호환되지 않는 CUDA 버전
WSL2에서는 CUDA 11.0 이상만 쓰세요
서로 다른 방법의 CUDA 설치를 섞지 마세요
4. Secure Boot와 UEFI 문제
문제: "Required key not available" 또는 Secure Boot 켜짐 상태에서 드라이버가 로드되지 않음
근본 원인: UEFI Secure Boot는 NVIDIA 드라이버를 포함해 서명되지 않은 커널 모듈의 로드를 막습니다.
해결 1: Secure Boot 끄기 (가장 쉬움)
재시작하고 BIOS/UEFI 진입 (보통 시작 중 DEL, F2 또는 F12)
Security 또는 Boot 설정으로 이동
Secure Boot 끄기
저장하고 나가기
Linux로 재시작
해결 2: NVIDIA 모듈 서명 (Secure Boot 켜짐 유지)
해결 3: 내장 DKMS 서명 쓰기 (Ubuntu 18.04 이상)
확인:
5. 깨진 패키지 의존성
문제: "Unable to correct problems, you have held broken packages" 또는 apt-get 실패
이것은 보통 CUDA 설치가 기존 패키지와 충돌하거나 이전 설치가 불완전할 때 일어납니다.
진단:
해결 1: 깨끗한 백지 접근
해결 2: 특정 의존성 충돌 고치기
해결 3: "File Already Exists" 충돌 다루기
계속되는 문제라면:
6. cuDNN 설치와 호환성
문제: cuDNN 버전 불일치 또는 "cannot find cuDNN"
근본 원인: 딥러닝 프레임워크는 CUDA 버전과 일치해야 하는 특정 cuDNN 버전을 요구합니다.
┌──────────────────────────────────────────────────────────────┐
│  CUDA ↔ cuDNN Compatibility Matrix                           │
├──────────────────────────────────────────────────────────────┤
│                                                              │
│  CUDA Version    →    Compatible cuDNN Versions              │
│  ────────────────────────────────────────────────────────    │
│  CUDA 12.4              cuDNN 9.x                            │
│  CUDA 12.1              cuDNN 8.9+                           │
│  CUDA 11.8              cuDNN 8.6 to 8.9                     │
│  CUDA 11.x              cuDNN 8.x                            │
│                                                              │
│  Framework requirements:                                     │
│  • PyTorch 2.0+:     cuDNN 8.5+                              │
│  • TensorFlow 2.13+: cuDNN 8.6+                              │
│                                                              │
└──────────────────────────────────────────────────────────────┘
해결 1: apt로 호환되는 cuDNN 설치 (Ubuntu)
해결 2: 수동 설치
NVIDIA의 cuDNN 페이지에서 cuDNN 내려받기 (무료 계정 필요)
CUDA 툴킷에 맞는 버전 고르기
압축을 풀고 파일 복사:
확인:
해결 3: Conda로 여러 cuDNN 버전 갖기
흔한 오류: "Loaded runtime CuDNN library X but source was compiled with Y"
이것은 Python 패키지가 다른 cuDNN 버전을 기대한다는 뜻입니다.
고치기:
7. PyTorch CUDA를 쓸 수 없음
문제: torch.cuda.is_available()가 False 반환
딥러닝 개발자에게 가장 짜증 나는 문제 중 하나입니다.
진단 단계:
┌──────────────────────────────────────────────────────────────┐
│  PyTorch CUDA Troubleshooting Decision Tree                  │
├──────────────────────────────────────────────────────────────┤
│                                                              │
│  torch.cuda.is_available() == False                          │
│         │                                                    │
│         ├─→ pip list | grep torch shows "+cpu"?              │
│         │   └─→ YES: Installed CPU-only version              │
│         │       FIX: Reinstall with CUDA support             │
│         │                                                    │
│         ├─→ nvidia-smi fails?                                │
│         │   └─→ YES: Driver problem                          │
│         │       FIX: Install/update NVIDIA driver            │
│         │                                                    │
│         ├─→ torch.version.cuda > nvidia-smi CUDA?            │
│         │   └─→ YES: Driver doesn't support PyTorch CUDA     │
│         │       FIX: Upgrade driver or use older PyTorch     │
│         │                                                    │
│         └─→ CUDA_VISIBLE_DEVICES set incorrectly?            │
│             └─→ YES: GPU hidden from PyTorch                 │
│                 FIX: Unset or correct the variable           │
│                                                              │
└──────────────────────────────────────────────────────────────┘
흔한 원인과 해결:
원인 1: CPU 전용 PyTorch 설치
가장 흔한 문제입니다. 기본 pip install torch는 CPU 전용 버전을 설치합니다.
해결:
원인 2: PyTorch CUDA 버전이 드라이버와 맞지 않음
PyTorch는 자신의 CUDA 런타임을 묶어 오지만, 드라이버가 그것을 지원해야 합니다.
해결:
원인 3: 잘못된 컴퓨트 능력
오래된 GPU는 최신 PyTorch 빌드가 지원하지 않을 수 있습니다.
GPU 컴퓨트 능력 확인:
해결:
컴퓨트 능력 3.5 미만: 최신 PyTorch가 지원하지 않습니다
컴퓨트 능력 3.5~5.2: 더 오래된 PyTorch 버전이 필요할 수 있습니다
컴퓨트 능력 5.0 이상: 완전히 지원됩니다
GPU가 너무 오래되었다면 이것을 고려하세요:
원인 4: 환경/Conda 문제
해결:
원인 5: CUDA_VISIBLE_DEVICES가 잘못 설정됨
빠른 문제 해결 스크립트:
8. Windows 고유의 문제
문제: "Cannot find compiler 'cl.exe' in PATH"
근본 원인: Windows의 CUDA는 CUDA 툴킷에 포함되지 않은 Microsoft Visual Studio의 C++ 컴파일러(cl.exe)를 요구합니다.
┌──────────────────────────────────────────────────────────────┐
│  Windows CUDA Build Requirements                             │
├──────────────────────────────────────────────────────────────┤
│                                                              │
│  CUDA Toolkit alone is NOT enough on Windows!                │
│                                                              │
│  Required components:                                        │
│  ┌────────────────────────────────────────────────────────┐  │
│  │ 1. CUDA Toolkit (nvcc, libraries)                      │  │
│  │ 2. Visual Studio with C++ tools (cl.exe)               │  │
│  │ 3. Windows SDK                                         │  │
│  └────────────────────────────────────────────────────────┘  │
│                                                              │
│  CUDA and VS Compatibility:                                  │
│  • CUDA 12.5+:  VS 2019 16.11 to VS 2022 17.10               │
│  • CUDA 12.0-12.4: VS 2019 16.11 to VS 2022 17.7             │
│  • CUDA 11.8:   VS 2019 16.11 to VS 2022 17.0                │
│                                                              │
└──────────────────────────────────────────────────────────────┘
해결:
1단계: Visual Studio 설치
Visual Studio Community 내려받기 (무료)
설치 중 "Desktop development with C++" 선택
이 구성 요소들이 선택되어 있는지 확인:
MSVC v143 C++ 빌드 도구 (또는 최신)
Windows SDK
C++ CMake 도구
2단계: 설치 확인
3단계: 필요하면 PATH에 추가
cl.exe가 일반 명령 프롬프트에서 발견되지 않으면:
cl.exe 위치 찾기 (보통):
시스템 PATH에 추가하거나 Visual Studio의 Developer Command Prompt 사용
4단계: CUDA가 컴파일러를 찾는지 확인
흔한 VS 버전 호환 문제:
VS 2022 17.10 이상과 CUDA 12.4 이하가 있다면:
문제: GeForce Experience 충돌 (Windows)
해결:
Windows에 CUDA를 설치할 때 사용자 지정 설치를 쓰고 선택 해제하세요:
GeForce Experience (이미 설치되어 있다면)
디스플레이 드라이버 (이미 작동하는 드라이버가 있다면)
이것만 설치하세요:
CUDA 툴킷
개발 도구
문서
9. 불완전한 설치
문제: "Incomplete installation" 또는 "Driver not selected" 경고
증상:
설치는 끝나지만 경고가 있음
nvidia-smi는 되는데nvcc는 안 됨일부 CUDA 샘플이 컴파일에 실패함
해결 1: 툴킷만 설치 (드라이버가 이미 작동할 때)
해결 2: 완전 재설치
해결 3: 빠진 구성 요소 고치기
특정 구성 요소만 빠졌다면:
10. 모범 사례
예방이 치료보다 낫다
┌──────────────────────────────────────────────────────────────┐
│  The Right Way to Install CUDA                               │
├──────────────────────────────────────────────────────────────┤
│                                                              │
│  Step 1: Plan                                                │
│  • Check GPU compute capability                              │
│  • Verify OS and kernel version                              │
│  • Research framework requirements                           │
│  • Pick compatible versions                                  │
│                                                              │
│  Step 2: Clean                                               │
│  • Remove old installations completely                       │
│  • Clean package manager cache                               │
│  • Reboot if needed                                          │
│                                                              │
│  Step 3: Install (in order)                                  │
│  1. NVIDIA Driver                                            │
│  2. CUDA Toolkit                                             │
│  3. cuDNN                                                    │
│  4. Framework (PyTorch/TensorFlow)                           │
│                                                              │
│  Step 4: Verify                                              │
│  • Test nvidia-smi                                           │
│  • Test nvcc --version                                       │
│  • Compile and run deviceQuery                               │
│  • Test framework GPU access                                 │
│                                                              │
│  Step 5: Document                                            │
│  • Save your working environment                             │
│  • Record all version numbers                                │
│  • Keep notes for future reference                           │
│                                                              │
└──────────────────────────────────────────────────────────────┘
설치 전:
호환성 확인
GPU 컴퓨트 능력
OS 버전과 커널
드라이버 요구 사항
프레임워크 요구 사항 (PyTorch/TensorFlow 버전)
기존 설치 정리
공식 출처 쓰기
nvidia.com에서 내려받으세요, 제3자 저장소가 아니라
체크섬 확인
OS의 공식 설치 가이드를 따르세요
설치 중:
올바른 순서로 설치
드라이버 먼저 (또는 CUDA 설치 프로그램에 맡기기)
CUDA 툴킷 둘째
cuDNN 셋째
프레임워크 (PyTorch/TensorFlow) 마지막
안정성을 위해 로컬 설치 프로그램 쓰기
네트워크 설치 프로그램은 실패하거나 잘못된 버전을 끌어올 수 있습니다
로컬 런파일이 더 많은 통제를 줍니다
버전 기록하기
설치 후:
모두 확인
환경 백업 만들기
설정 문서화 기록해 두세요:
GPU 모델
드라이버 버전
CUDA 버전
cuDNN 버전
프레임워크 버전
OS와 커널 버전
권장 설치 경로:
초보자용:
고급 사용자용:
딥러닝용:
문제가 생겼을 때:
당황 설치 하지 마세요
여러 버전을 설치해도 문제가 고쳐지지 않습니다
먼저 정리하고, 그다음 재설치하세요
오류 메시지를 주의 깊게 읽으세요
대부분의 오류는 무엇이 잘못됐는지 정확히 말합니다
그 구체적인 오류 메시지를 검색하세요
로그 확인
올바르게 도움 요청 포럼에 글을 올릴 때 포함하세요:
OS와 버전
GPU 모델
nvidia-smi출력nvcc --version출력완전한 오류 메시지
이미 시도한 것
빠른 문제 해결 체크리스트
CUDA가 작동하지 않을 때 이 체크리스트를 쓰세요:
┌──────────────────────────────────────────────────────────────┐
│  CUDA Troubleshooting Checklist                              │
├──────────────────────────────────────────────────────────────┤
│                                                              │
│  □ nvidia-smi shows GPU?                                     │
│    → If no: Driver issue                                     │
│                                                              │
│  □ nvcc --version works?                                     │
│    → If no: PATH issue                                       │
│                                                              │
│  □ CUDA version compatible with driver?                      │
│    → Check compatibility matrix                              │
│                                                              │
│  □ cuDNN installed and compatible?                           │
│    → Check version matching                                  │
│                                                              │
│  □ PyTorch/TensorFlow sees GPU?                              │
│    → Check framework installation                            │
│                                                              │
│  □ Secure Boot disabled (or modules signed)?                 │
│    → Check boot settings                                     │
│                                                              │
│  □ All environment variables set?                            │
│    → Check PATH, LD_LIBRARY_PATH, CUDA_HOME                  │
│                                                              │
│  □ On WSL2?                                                  │
│    → Follow WSL2-specific guide                              │
│                                                              │
│  □ On Windows?                                               │
│    → Visual Studio installed?                                │
│                                                              │
│  □ Package dependencies clean?                               │
│    → Run apt --fix-broken install                            │
│                                                              │
└──────────────────────────────────────────────────────────────┘
결론
CUDA 설치는 까다로울 수 있지만, 대부분의 문제는 이 흔한 범주에 속합니다. 핵심은:
오류 메시지로 구체적인 문제 파악
버전 불일치, 빠진 의존성 등의 근본 원인 이해
모두 다시 설치하는 대신 맞춤 해결 적용
제대로 시험해 고침 확인
기억하세요. 작동하는 CUDA 설치에는 이것이 필요합니다:
호환되는 GPU 하드웨어
올바른 NVIDIA 드라이버
CUDA 툴킷
올바른 환경 변수
(딥러닝이라면) 호환되는 cuDNN
(딥러닝이라면) CUDA 지원으로 설치된 프레임워크
이 해결들을 시도한 뒤에도 막혔다면 NVIDIA Developer Forums와 Stack Overflow의 CUDA 커뮤니티가 훌륭한 자원입니다.
마지막 업데이트: 2025년 10월