
CUDA 安装问题修复完全指南
, 阅读时间 12 分钟, By Jaber Jaber
Research如果你刚开始 CUDA 开发,你很可能已经碰上过让人头疼的安装问题。我分析了数百位开发者的经历,整理了这份完整指南,帮你解决最常见的 CUDA 安装难题。
每个 CUDA 开发者都经历过:装好工具包,一切看起来正常,然后 nvcc --version 返回 "command not found"。或者更糟,在你的机器上一切正常,换到别人的 GPU 上就坏。在帮几十个团队调试这些问题之后,我反复看到同样的问题。
本指南覆盖每一个主要的 CUDA 安装问题以及确切的修复方法。不再靠试错。
目录
常见问题:
PATH 与环境变量问题
驱动与工具包版本不匹配
WSL2 特有的问题
Secure Boot 与 UEFI 问题
损坏的包依赖
cuDNN 安装与兼容性
PyTorch 检测不到 CUDA
Windows 特有的问题
不完整的安装
预防的最佳实践
1. PATH 与环境变量问题
问题:nvcc --version 返回 "command not found"
这是安装 CUDA 后开发者最常遇到的问题。工具包装好了,但系统找不到 CUDA 编译器。
根因: CUDA 的可执行文件不在你系统的 PATH 环境变量里。
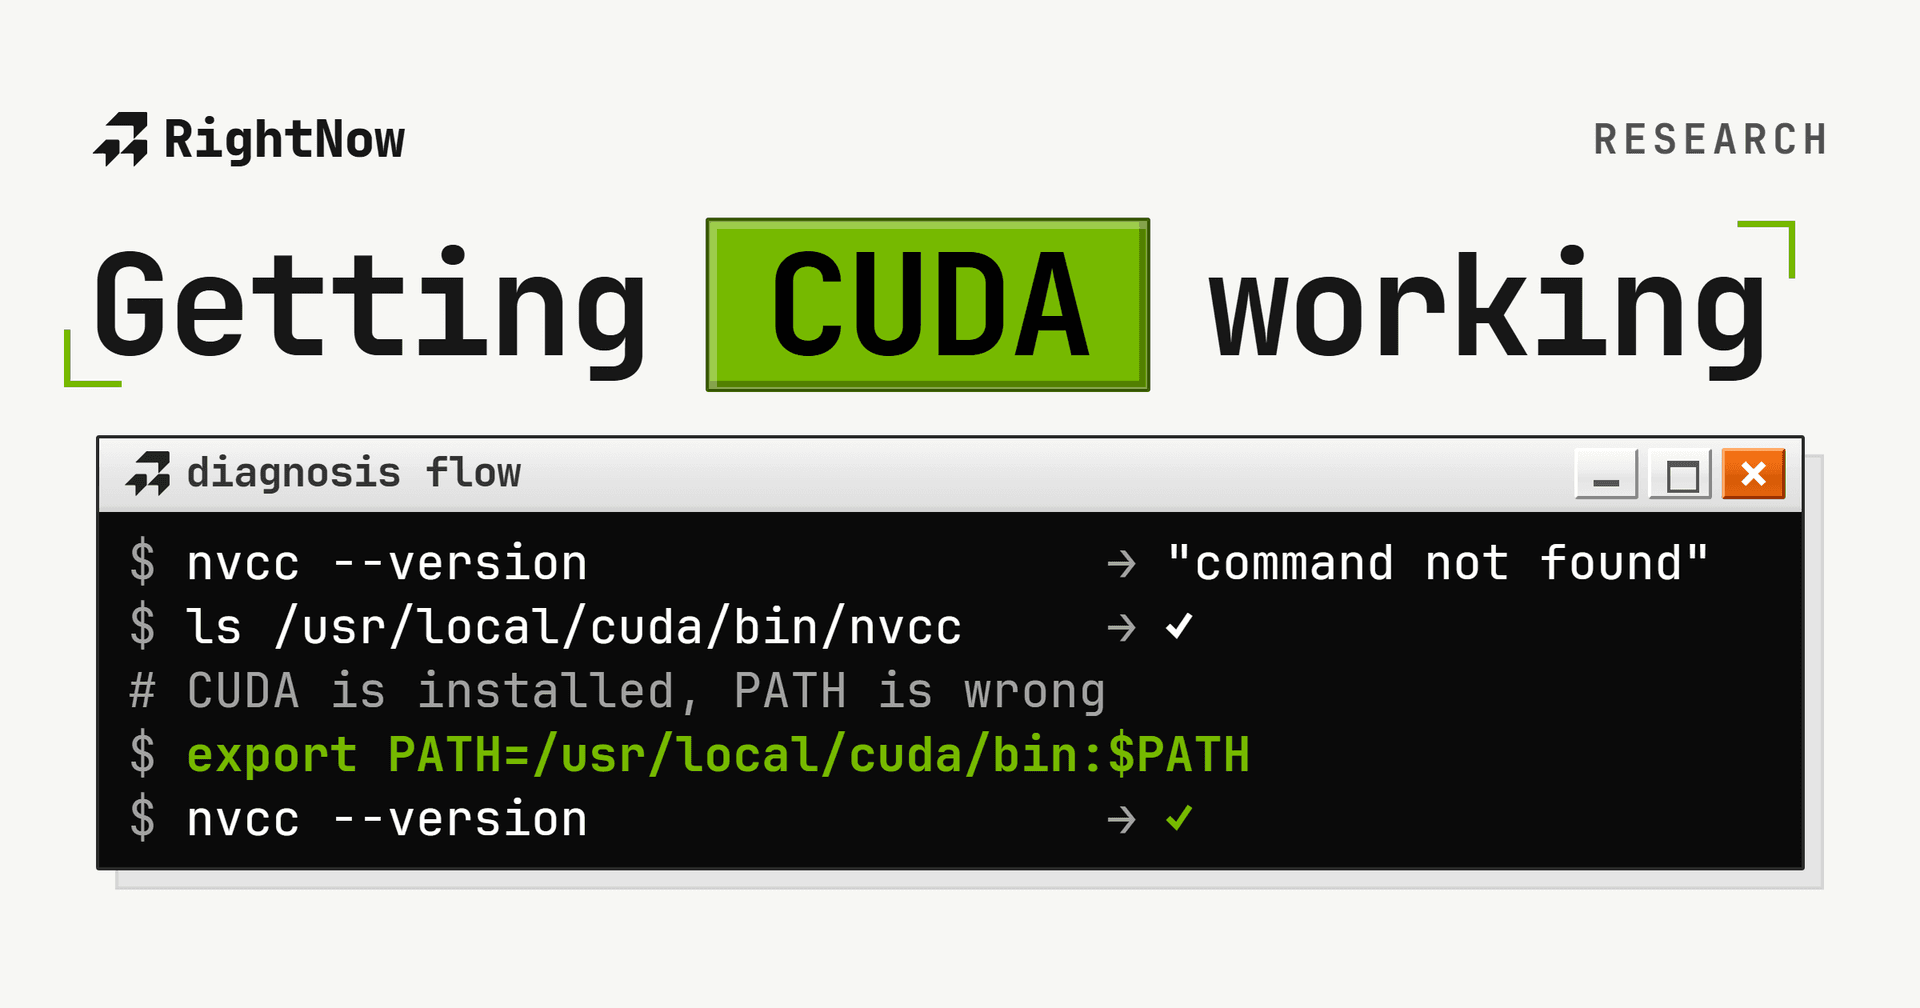
┌──────────────────────────────────────────────────────────────┐
│  Diagnosis Flow                                              │
├──────────────────────────────────────────────────────────────┤
│                                                              │
│  $ nvcc --version                                            │
│  → "command not found"                                       │
│                                                              │
│  $ which nvcc                                                │
│  → (empty)                                                   │
│                                                              │
│  $ ls /usr/local/cuda/bin/nvcc                               │
│  → File exists! ✓                                            │
│                                                              │
│  Conclusion: CUDA is installed, PATH is wrong                │
│                                                              │
└──────────────────────────────────────────────────────────────┘
Linux/Ubuntu 的解决方法:
Windows 的解决方法:
打开系统属性 → 高级 → 环境变量
向 PATH 添加:
C:\Program Files\NVIDIA GPU Computing Toolkit\CUDA\v11.8\bin新建变量
CUDA_PATH:C:\Program Files\NVIDIA GPU Computing Toolkit\CUDA\v11.8重启你的终端或 IDE
验证:
2. 驱动与工具包版本不匹配
问题:"CUDA driver version is insufficient" 或版本不匹配错误
根因: 你的 NVIDIA 驱动不支持你所装 CUDA 工具包的版本,或者各 CUDA 组件之间不匹配。
理解 CUDA 版本:
nvidia-smi显示你的驱动支持的最高 CUDA 版本nvcc --version显示你已安装的工具包版本两者可以不同,这通常没问题(驱动支持更老的工具包)
┌──────────────────────────────────────────────────────────────┐
│  CUDA Compatibility Matrix                                   │
├──────────────────────────────────────────────────────────────┤
│                                                              │
│  CUDA Toolkit    →    Minimum Driver Version                 │
│  ────────────────────────────────────────────────            │
│  CUDA 12.x              ≥ 525.60.13 (Linux)                  │
│                         ≥ 527.41 (Windows)                   │
│                                                              │
│  CUDA 11.x              ≥ 450.80.02 (Linux)                  │
│                         ≥ 452.39 (Windows)                   │
│                                                              │
│  CUDA 10.x              ≥ 410.48 (Linux)                     │
│                         ≥ 411.31 (Windows)                   │
│                                                              │
│  Rule: Driver version ≥ Toolkit requirement                  │
│                                                              │
└──────────────────────────────────────────────────────────────┘
解决方法 1:升级你的驱动
解决方法 2:安装兼容的 CUDA 版本
如果无法升级驱动,就安装一个与你的驱动版本匹配的更老 CUDA 工具包。查看 CUDA compatibility matrix。
解决方法 3:修复 NVML 驱动/库不匹配
这个错误常在驱动更新后出现:
3. WSL2 特有的问题
问题:CUDA 在 Windows 的 WSL2 里不工作
WSL2 对 CUDA 支持有独特的要求,与原生 Linux 安装不同。
┌──────────────────────────────────────────────────────────────┐
│  WSL2 CUDA Architecture (Critical Rules)                     │
├──────────────────────────────────────────────────────────────┤
│                                                              │
│  Windows Host                                                │
│  ┌────────────────────────────────────────────────────────┐  │
│  │  NVIDIA Driver (WSL-enabled)  ← Install HERE           │  │
│  │  ├─ Manages GPU hardware                               │  │
│  │  └─ Exposes /dev/dxg to WSL2                           │  │
│  └────────────────────────────────────────────────────────┘  │
│         │                                                    │
│         ↓ (passthrough)                                      │
│  ┌────────────────────────────────────────────────────────┐  │
│  │  WSL2 Ubuntu                                           │  │
│  │  ├─ CUDA Toolkit ONLY  ← Install HERE                  │  │
│  │  ├─ NO driver installation!                            │  │
│  │  └─ Uses Windows driver via /dev/dxg                   │  │
│  └────────────────────────────────────────────────────────┘  │
│                                                              │
│  Common mistake: Installing NVIDIA driver in WSL2            │
│  Result: Conflicts and failures                              │
│                                                              │
└──────────────────────────────────────────────────────────────┘
WSL2 的关键规则:
不要在 WSL2 里安装 NVIDIA 驱动:驱动来自 Windows
只在 WSL2 里装 CUDA 工具包,不装驱动
Windows 必须装有支持 WSL2 的 NVIDIA 驱动
解决方法:
第 1 步:安装正确的 Windows 驱动 从 NVIDIA's WSL page 下载支持 WSL 的 CUDA 驱动。
第 2 步:验证 WSL2 能看到 GPU
如果这条命令工作,Windows 驱动配置正确。
第 3 步:在 WSL2 里安装 CUDA 工具包
第 4 步:设置环境变量
常见的 WSL2 问题:
问题:"GPU not detected in WSL2"
确保 Windows 装有支持 WSL2 的驱动
检查 WSL 内核版本:
wsl cat /proc/version(需要 ≥ 5.10.43.3)更新 WSL:在 PowerShell 里运行
wsl --update
问题:CUDA 版本不兼容
在 WSL2 里只用 CUDA 11.0+
不要混用不同方式装的 CUDA
4. Secure Boot 与 UEFI 问题
问题:"Required key not available" 或开启 Secure Boot 后驱动不加载
根因: UEFI Secure Boot 阻止加载未签名的内核模块,包括 NVIDIA 驱动。
解决方法 1:关闭 Secure Boot(最简单)
重启并进入 BIOS/UEFI(通常是开机时的 DEL、F2 或 F12)
找到 Security 或 Boot 设置
关闭 Secure Boot
保存并退出
重启进入 Linux
解决方法 2:给 NVIDIA 模块签名(保持 Secure Boot 开启)
解决方法 3:使用内置的 DKMS 签名(Ubuntu 18.04+)
验证:
5. 损坏的包依赖
问题:"Unable to correct problems, you have held broken packages" 或 apt-get 失败
这通常发生在 CUDA 安装与现有包冲突,或之前的安装不完整时。
诊断:
解决方法 1:清空重来
解决方法 2:修复特定的依赖冲突
解决方法 3:处理 "File Already Exists" 冲突
对顽固问题:
6. cuDNN 安装与兼容性
问题:cuDNN 版本不匹配或 "cannot find cuDNN"
根因: 深度学习框架要求特定的 cuDNN 版本,并且必须与你的 CUDA 版本匹配。
┌──────────────────────────────────────────────────────────────┐
│  CUDA ↔ cuDNN Compatibility Matrix                           │
├──────────────────────────────────────────────────────────────┤
│                                                              │
│  CUDA Version    →    Compatible cuDNN Versions              │
│  ────────────────────────────────────────────────────────    │
│  CUDA 12.4              cuDNN 9.x                            │
│  CUDA 12.1              cuDNN 8.9+                           │
│  CUDA 11.8              cuDNN 8.6 to 8.9                     │
│  CUDA 11.x              cuDNN 8.x                            │
│                                                              │
│  Framework requirements:                                     │
│  • PyTorch 2.0+:     cuDNN 8.5+                              │
│  • TensorFlow 2.13+: cuDNN 8.6+                              │
│                                                              │
└──────────────────────────────────────────────────────────────┘
解决方法 1:通过 apt 安装兼容的 cuDNN(Ubuntu)
解决方法 2:手动安装
从 NVIDIA's cuDNN page 下载 cuDNN(需要免费账户)
选择与你的 CUDA 工具包匹配的版本
解压并复制文件:
验证:
解决方法 3:用 Conda 管理多个 cuDNN 版本
常见错误:"Loaded runtime CuDNN library X but source was compiled with Y"
这表示你的 Python 包期望另一个 cuDNN 版本。
修复:
7. PyTorch 检测不到 CUDA
问题:torch.cuda.is_available() 返回 False
这是深度学习开发者最头疼的问题之一。
诊断步骤:
┌──────────────────────────────────────────────────────────────┐
│  PyTorch CUDA Troubleshooting Decision Tree                  │
├──────────────────────────────────────────────────────────────┤
│                                                              │
│  torch.cuda.is_available() == False                          │
│         │                                                    │
│         ├─→ pip list | grep torch shows "+cpu"?              │
│         │   └─→ YES: Installed CPU-only version              │
│         │       FIX: Reinstall with CUDA support             │
│         │                                                    │
│         ├─→ nvidia-smi fails?                                │
│         │   └─→ YES: Driver problem                          │
│         │       FIX: Install/update NVIDIA driver            │
│         │                                                    │
│         ├─→ torch.version.cuda > nvidia-smi CUDA?            │
│         │   └─→ YES: Driver doesn't support PyTorch CUDA     │
│         │       FIX: Upgrade driver or use older PyTorch     │
│         │                                                    │
│         └─→ CUDA_VISIBLE_DEVICES set incorrectly?            │
│             └─→ YES: GPU hidden from PyTorch                 │
│                 FIX: Unset or correct the variable           │
│                                                              │
└──────────────────────────────────────────────────────────────┘
常见原因与解决方法:
原因 1:装了 CPU 版 PyTorch
这是最常见的问题。默认的 pip install torch 装的是 CPU 版。
解决方法:
原因 2:PyTorch 的 CUDA 版本与驱动不匹配
PyTorch 自带 CUDA 运行时,但你的驱动必须支持它。
解决方法:
原因 3:算力等级不对
老 GPU 可能不被新版 PyTorch 构建支持。
检查 GPU 算力等级:
解决方法:
算力 < 3.5:不被现代 PyTorch 支持
算力 3.5-5.2:可能需要更老的 PyTorch 版本
算力 ≥ 5.0:完全支持
如果你的 GPU 太老,可以考虑:
原因 4:环境/Conda 问题
解决方法:
原因 5:CUDA_VISIBLE_DEVICES 设置错误
快速排查脚本:
8. Windows 特有的问题
问题:"Cannot find compiler 'cl.exe' in PATH"
根因: Windows 上的 CUDA 需要 Microsoft Visual Studio 的 C++ 编译器(cl.exe),它不包含在 CUDA 工具包里。
┌──────────────────────────────────────────────────────────────┐
│  Windows CUDA Build Requirements                             │
├──────────────────────────────────────────────────────────────┤
│                                                              │
│  CUDA Toolkit alone is NOT enough on Windows!                │
│                                                              │
│  Required components:                                        │
│  ┌────────────────────────────────────────────────────────┐  │
│  │ 1. CUDA Toolkit (nvcc, libraries)                      │  │
│  │ 2. Visual Studio with C++ tools (cl.exe)               │  │
│  │ 3. Windows SDK                                         │  │
│  └────────────────────────────────────────────────────────┘  │
│                                                              │
│  CUDA and VS Compatibility:                                  │
│  • CUDA 12.5+:  VS 2019 16.11 to VS 2022 17.10               │
│  • CUDA 12.0-12.4: VS 2019 16.11 to VS 2022 17.7             │
│  • CUDA 11.8:   VS 2019 16.11 to VS 2022 17.0                │
│                                                              │
└──────────────────────────────────────────────────────────────┘
解决方法:
第 1 步:安装 Visual Studio
下载 Visual Studio Community(免费)
安装时选择 "Desktop development with C++"
确认勾选这些组件:
MSVC v143 C++ build tools(或最新版)
Windows SDK
C++ CMake tools
第 2 步:验证安装
第 3 步:加入 PATH(如有需要)
如果在普通命令提示符里找不到 cl.exe:
找到 cl.exe 的位置(通常是):
加入系统 PATH,或使用 Visual Studio 的 Developer Command Prompt
第 4 步:验证 CUDA 能找到编译器
常见的 VS 版本兼容问题:
如果你是 VS 2022 17.10+ 配 CUDA 12.4 或更早:
问题:GeForce Experience 冲突(Windows)
解决方法:
在 Windows 上安装 CUDA 时,使用自定义安装并取消勾选:
GeForce Experience(如果已安装)
显示驱动(如果你已有一个能用的驱动)
只安装:
CUDA 工具包
开发工具
文档
9. 不完整的安装
问题:"Incomplete installation" 或 "Driver not selected" 警告
症状:
安装完成但有警告
nvidia-smi能用但nvcc不能一些 CUDA 示例编译失败
解决方法 1:只装工具包(驱动已经正常时)
解决方法 2:完整重装
解决方法 3:补齐缺失的组件
如果只缺特定组件:
10. 最佳实践
预防胜于治疗
┌──────────────────────────────────────────────────────────────┐
│  The Right Way to Install CUDA                               │
├──────────────────────────────────────────────────────────────┤
│                                                              │
│  Step 1: Plan                                                │
│  • Check GPU compute capability                              │
│  • Verify OS and kernel version                              │
│  • Research framework requirements                           │
│  • Pick compatible versions                                  │
│                                                              │
│  Step 2: Clean                                               │
│  • Remove old installations completely                       │
│  • Clean package manager cache                               │
│  • Reboot if needed                                          │
│                                                              │
│  Step 3: Install (in order)                                  │
│  1. NVIDIA Driver                                            │
│  2. CUDA Toolkit                                             │
│  3. cuDNN                                                    │
│  4. Framework (PyTorch/TensorFlow)                           │
│                                                              │
│  Step 4: Verify                                              │
│  • Test nvidia-smi                                           │
│  • Test nvcc --version                                       │
│  • Compile and run deviceQuery                               │
│  • Test framework GPU access                                 │
│                                                              │
│  Step 5: Document                                            │
│  • Save your working environment                             │
│  • Record all version numbers                                │
│  • Keep notes for future reference                           │
│                                                              │
└──────────────────────────────────────────────────────────────┘
安装之前:
检查兼容性
GPU 算力等级
系统版本与内核
驱动要求
框架要求(PyTorch/TensorFlow 版本)
清理现有安装
使用官方来源
从 nvidia.com 下载,不用第三方仓库
校验校验和
按你系统的官方安装指南操作
安装过程中:
按正确顺序安装
先装驱动(或让 CUDA 安装器处理)
第二装 CUDA 工具包
第三装 cuDNN
最后装框架(PyTorch/TensorFlow)
用本地安装包求稳
网络安装器可能失败或拉错版本
本地 runfile 给你更多控制
记下你的版本
安装之后:
验证一切
创建环境备份
记录你的配置 保存这些记录:
GPU 型号
驱动版本
CUDA 版本
cuDNN 版本
框架版本
系统与内核版本
推荐的安装路径:
给初学者:
给高级用户:
给深度学习:
出问题的时候:
不要慌着乱装
装多个版本解决不了问题
先清理,再重装
仔细读错误信息
大多数错误都明确告诉你哪里错了
去搜索具体的错误消息
查日志
规范地求助 在论坛发帖时,附上:
系统与版本
GPU 型号
nvidia-smi的输出nvcc --version的输出完整的错误消息
你已经试过的办法
快速排查清单
CUDA 不工作时用这份清单:
┌──────────────────────────────────────────────────────────────┐
│  CUDA Troubleshooting Checklist                              │
├──────────────────────────────────────────────────────────────┤
│                                                              │
│  □ nvidia-smi shows GPU?                                     │
│    → If no: Driver issue                                     │
│                                                              │
│  □ nvcc --version works?                                     │
│    → If no: PATH issue                                       │
│                                                              │
│  □ CUDA version compatible with driver?                      │
│    → Check compatibility matrix                              │
│                                                              │
│  □ cuDNN installed and compatible?                           │
│    → Check version matching                                  │
│                                                              │
│  □ PyTorch/TensorFlow sees GPU?                              │
│    → Check framework installation                            │
│                                                              │
│  □ Secure Boot disabled (or modules signed)?                 │
│    → Check boot settings                                     │
│                                                              │
│  □ All environment variables set?                            │
│    → Check PATH, LD_LIBRARY_PATH, CUDA_HOME                  │
│                                                              │
│  □ On WSL2?                                                  │
│    → Follow WSL2-specific guide                              │
│                                                              │
│  □ On Windows?                                               │
│    → Visual Studio installed?                                │
│                                                              │
│  □ Package dependencies clean?                               │
│    → Run apt --fix-broken install                            │
│                                                              │
└──────────────────────────────────────────────────────────────┘
结语
CUDA 安装可能麻烦,但大多数问题都落在这几个常见类别里。关键是:
用错误信息确定具体问题
理解根因(版本不匹配、缺失依赖等)
应用有针对性的解决方法,而不是重装一切
用正确的测试验证修复
记住:一个能工作的 CUDA 安装需要:
兼容的 GPU 硬件
正确的 NVIDIA 驱动
CUDA 工具包
正确的环境变量
(深度学习)兼容的 cuDNN
(深度学习)带 CUDA 支持安装的框架
如果在尝试这些方法之后仍然卡住,NVIDIA Developer Forums 和 Stack Overflow 上的 CUDA 社区是很好的资源。
最后更新:2025 年 10 月